
Blooming
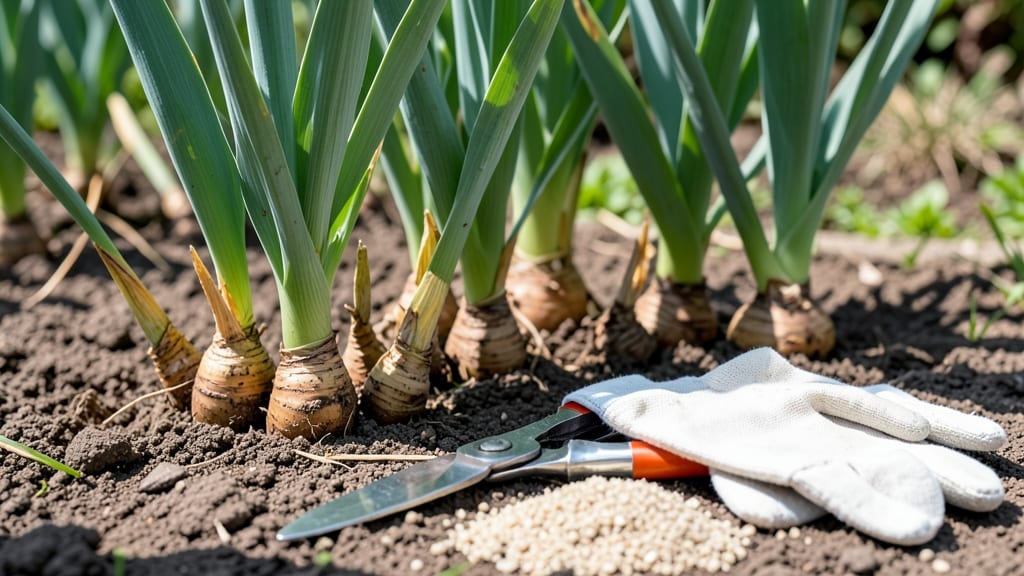
After iris blooms then what? The real magic happens—late spring is your chance to extend next year’s color while keeping plants healthy. ✨ I’ve learned that skipping this step means fewer blooms and weaker rhizomes, but with just a few minutes of care, your irises will reward you with bigger, brighter flowers for seasons to come.
Start by deadheading spent blooms—snip the flower stalk down to the first healthy leaf to redirect energy into root growth. Then, give the soil a light feeding with a balanced fertilizer (like 10-10-10) to replenish nutrients after blooming.
This is also the perfect time to check for pests like iris borers, which hide in the foliage after blooms drop.
By mid-summer, your irises will start storing energy for next spring. If your clumps are crowded, now’s the time to divide them—every 3-5 years, this rejuvenates growth and prevents overcrowding.
Just dig up the rhizomes, separate the fans, and replant them in well-draining soil with the tops exposed to sunlight.
The secret to winter-ready irises? A light mulch in late fall protects the rhizomes without suffocating them. Prune back the foliage in late fall or early winter, leaving just 2-3 inches above the soil. Your irises will thank you with stronger stems and even more dramatic blooms next year.
📚 In This Guide
- What you need
- Instructions
- Tips and common mistakes
- Wrapping up and next steps
What you need
- ● Garden shears or pruners – Choose sharp, bypass-pruning shears (4-6" blades) for clean cuts. Dull tools crush stems, inviting disease!
- ○ Gloves (optional but recommended) – Nitrile or leather gloves protect against thorns and sap (great for sensitive skin!).
- ● Disinfectant (70% isopropyl alcohol or bleach solution) – Wipe tools between cuts to prevent fungal spread.
- ● Garden twine or plant ties – 1-2 feet per plant to secure floppy stems post-deadheading.
- ● Compost bin or bag – For spent blooms and debris (irises love nutrient-rich compost!).
- ● Hand lens or magnifying glass – Spots hidden pests or stem issues before they spread.
- ● Fungicide spray (copper-based) – Preventative measure for humid climates.
- ● Markers or flags – Label newly divided rhizomes if replanting.
- ● Knee pad or small stool – Because gardening should be comfortable!
After iris bloom then what: deadheading secrets for nonstop color
Here's how to turn your irises from one-season wonders into long-term showstoppers.
🌱 Step 1: Identify and Remove Spent Blooms
Wait until the first bloom on each stem wilts completely—don't rush it. Irises store energy in their rhizomes, and removing blooms too soon starves the plant. Once the flower head droops and turns brown, use clean, sharp pruners to snip the stem 1-2 inches above the base. This prevents seed formation, which drains energy from next year's blooms.
I always work in the morning after dew dries. The stems are firmer then, and you won't accidentally cut into the rhizome. If you're unsure whether a bloom is truly spent, wait another day. You'll know it's ready when the petals look papery and the stem feels dry to the touch.
✂️ Step 2: Prune Foliage Strategically
Never cut iris leaves! They photosynthesize until late summer, feeding the rhizome for next year's blooms. The only time to trim foliage is if it's diseased or damaged. If you must remove leaves, wait until they yellow naturally in late summer—that's your signal they've completed their job.
I find it helpful to mark spent stems with a small flag or note in my garden journal. This prevents me from accidentally cutting healthy foliage later. The key is patience—irises reward careful maintenance with years of blooms.
💧 Step 3: Fertilize and Hydrate for Next Season
After deadheading, apply a low-nitrogen fertilizer (like 5-10-10) around the plant but not touching the rhizome. Irises need phosphorus and potassium more than nitrogen at this stage. Water deeply to help the roots absorb nutrients, then reduce irrigation—irises hate soggy soil.
I always water in the early morning so the foliage dries quickly. Wet leaves overnight invite fungal diseases that can weaken the plant. Mulch lightly with 2 inches of organic material (like shredded bark) to retain moisture without smothering the rhizomes.
☀️ Step 4: Monitor for New Growth Signals
In late summer or early fall, you'll see new fan-shaped leaves emerging from the rhizome. This is your plant preparing for next year's blooms. If you notice any yellowing or spots on leaves, remove those sections immediately with sterilized pruners to prevent spread.
I check my irises every 2 weeks during this period. Healthy growth means next year's blooms will be even more vibrant. If you see no new leaves by mid-September, your plant may need division or additional phosphorus.
⏰ Step 5: Plan for Long-Term Care
Every 3-4 years, irises need dividing to prevent overcrowding. The best time is after foliage yellows but before new growth appears. Dig carefully to avoid damaging the rhizomes, then replant with the top 1/3 exposed—this prevents rot while allowing sunlight to warm the plant.
This is the moment that matters: proper division keeps irises blooming for decades. I always replant divisions in well-draining soil with full sun. With this care, your irises will become the garden's star performer year after year.
Tips & tricks for perfect iris deadheading
These simple secrets will help you extend your irises' blooming season with minimal effort.
Timing is Everything: In Step 1, don't rush to deadhead—wait until blooms are completely wilted and brown. I've learned this the hard way: cutting too early starves the rhizomes of energy they need for next year. The papery texture of petals is your clear signal it's time. This patience pays off with bigger, more vibrant blooms the following season.
Tool Prep Matters: Before you begin, sterilize your pruners with rubbing alcohol to prevent spreading diseases between plants. In Step 1, I always cut stems at the 1-2 inch mark above the base—this prevents accidental rhizome damage. A sharp tool makes all the difference, especially when dealing with fibrous iris stems that can dull blades quickly.
Seasonal Pruning Strategy: For Step 2, mark spent stems with small flags or notes in your garden journal. This visual reminder prevents you from accidentally cutting healthy foliage later in the season. Remember, iris leaves are hard at work until late summer—never trim them unless they're diseased. The key is observation: healthy leaves should remain until they naturally yellow.
Fertilizer Timing Tip: When applying the low-nitrogen fertilizer in Step 3, focus on phosphorus and potassium. I've found that a 5-10-10 blend works perfectly—just sprinkle it around the base without touching the rhizomes. Water deeply afterward, but reduce irrigation immediately after to prevent soggy soil, which irises absolutely hate.
Pro Tips for After Iris Bloom Then What
- These simple secrets will help you extend your irises' blooming season with minimal effort.
- Timing is Everything: In Step 1, don't rush to deadhead—wait until blooms are completely wilted and brown. I've learn...
- Tool Prep Matters: Before you begin, sterilize your pruners with rubbing alcohol to prevent spreading diseases betwee...
Frequently asked questions
Got questions about what to do after your irises bloom? You’re not alone! Here are some of the most common concerns gardeners have—and the answers to keep your plants thriving.
Do I need to deadhead iris flowers?
Yes! Deadheading spent blooms (removing faded flowers) redirects energy to next year’s growth. Snip off the flower stalk just above the first set of leaves to avoid damaging the rhizome. This keeps your iris looking tidy and encourages stronger reblooming.
How soon after blooming should I deadhead?
Deadhead iris flowers as soon as they wilt—usually within 1-2 weeks of blooming. Waiting too long can lead to seed pods, which drain energy from the plant. For reblooming varieties, early deadheading is key to a second flush of flowers later in the season.
Can I cut the entire flower stalk, or just the blooms?
Only remove the individual blooms or the entire flower stalk after it fully browns (late summer/early fall). Cutting too early can harm the rhizome. For rebloomers, leave some foliage until it yellows naturally to ensure energy storage for next year.
What if my iris leaves turn yellow after blooming?
Yellowing leaves are normal in late summer/fall as the plant rests. However, sudden yellowing after blooming (especially with brown spots) may signal root rot or bacterial soft rot. Improve drainage, avoid overwatering, and mulch lightly to prevent issues.
Will deadheading encourage more blooms next year?
Deadheading removes spent flowers, preventing seed production and redirecting nutrients to rhizome growth. For reblooming irises, consistent deadheading + proper fertilization (like a balanced 10-10-10) can double your flower power the following season.
Pro Tip:
Use sterilized shears when deadheading to avoid spreading disease. A quick dip in rubbing alcohol between cuts keeps your tools—and your irises—healthy!
Wrapping up and next steps
Mastering the art of deadheading your irises after they bloom is your ticket to nonstop color and healthier plants! 🌸 With the right tools, timing, and techniques, you’ll keep your garden vibrant and thriving. Remember, consistency is key—just a few minutes of care now means months of beauty later.
Ready to take the next step? Pick a sunny day, grab your pruners, and start deadheading today. Your irises—and your garden—will thank you! 🌿✨