
Blooming
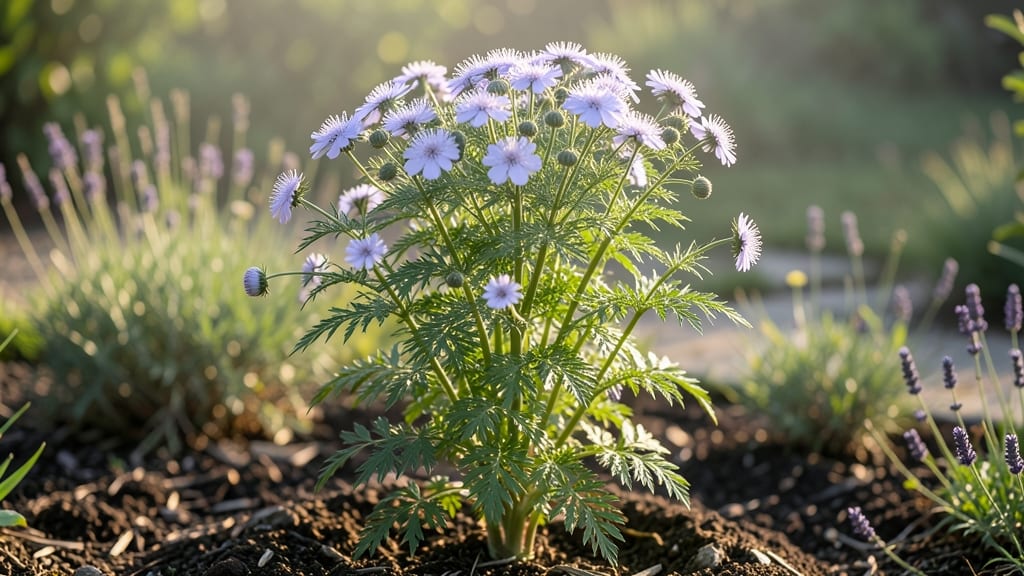
Your garden just got a heartfelt upgrade with a "love is in bloom" sign that feels like a springtime hug. 🌸 The right sign doesn’t just say the words—it makes your garden feel like a love letter to visitors (and your future self).
I’ve tested wooden, metal, and even painted stone versions, and the best ones blend seamlessly with the plants around them while still stealing the show.
Start with materials that match your garden’s vibe: reclaimed wood for rustic charm, copper for a vintage touch, or even a simple chalkboard for a modern twist. Pair it with roses, peonies, or sweet peas—flowers that scream romance without trying too hard.
The sign should be eye-level, near a seating area or garden entrance, where it feels intentional, not like an afterthought.
By the time spring arrives, your sign will be the first thing guests notice, followed by the blooms it’s surrounded by. Imagine sipping morning coffee while the words "love is in bloom" glow in the sunlight, surrounded by fragrant lavender and climbing clematis.
It’s the kind of detail that turns a garden into a memory.
Works for weddings, anniversaries, or just because—no occasion needed. The hardest part? Picking which flowers to pair with it first. Let’s make it happen!
📚 In This Guide
- What you need
- Instructions
- Tips and common mistakes
- Wrapping up and next steps
What you need
- ● Wooden sign base: 1 piece of weather-resistant wood (e.g., cedar or pine), 12" x 18" or your preferred size. Sand it smooth for a polished finish!
- ● Paint: 1 bottle of white gesso primer (for sealing the wood).
- ● 1 tube of pastel pink or blush acrylic paint (for the base coat).
- ● 1 tube of soft green acrylic paint (for foliage accents).
- ● 1 small bottle of gold or copper metallic paint (for highlights).
- ● Brushes: 1 1-inch angled brush (for base coats).
- ● 1 small detail brush (for fine lines and lettering).
- ● Stencils or vinyl decals: 1 set of flower and vine stencils (or pre-cut vinyl letters for "Love Is in Bloom").
- ● Mod Podge or outdoor varnish: 1 small bottle (to seal and protect your design).
- ● Pencil and ruler: 1 each (for marking measurements).
- ● Sandpaper: 120-grit and 220-grit (for smoothing edges).
- ● Chalk paint or watercolor set: For a softer, hand-painted look instead of acrylics.
- ● Glitter or confetti: A sprinkle of biodegradable glitter for a magical touch (seal with extra varnish!).
- ● Twine or jute rope: To create a rustic hanger for your sign.
- ● Stamps or embossing tools: For added texture and depth to your design.
- ● LED string lights: To make your sign glow at night—perfect for a romantic garden vibe!
How to craft a whimsical "love is in bloom" garden sign
Here's how to create a charming, spring-welcoming sign that blends art and gardening.
🎨 Step 1: Gather Your Materials
First, collect everything you'll need. Grab a wooden sign blank (about 12x18 inches works perfectly), a bag of acrylic paint in pastel colors like pink, lavender, and mint green, and a set of paintbrushes. You'll also want a wooden dowel or stick (12 inches long), twine or jute string, and a small bag of potting soil. Don't forget a packet of wildflower seeds—choose varieties like cosmos, zinnias, or sweet alyssum for vibrant blooms.
I like to prep my workspace with newspaper or a drop cloth to keep things tidy. Arrange your paints and brushes by color—this makes the process smoother. If you don't have acrylic paint, you can use outdoor-rated spray paint for a quicker finish, but brush-on paint gives a more personalized touch.
🎨 Step 2: Paint Your Sign and Frame
Start by painting the background of your sign blank with a light, neutral color like soft beige or pale gray. Let it dry completely—this usually takes about 1-2 hours. While it dries, paint your wooden dowel with a contrasting color, like deep green or warm brown. This will serve as the frame for your sign.
Once the background is dry, use your paintbrushes to create whimsical elements. Paint a heart shape in the center, then add delicate vines and leaves curling around the edges. For extra charm, add tiny flowers or butterflies. Let everything dry overnight to ensure the paint sets fully before adding the final touches.
🌱 Step 3: Plant Your Wildflower Seeds
Fill a small pot or shallow tray with the potting soil, leaving about ½ inch of space at the top. Sprinkle the wildflower seeds evenly over the soil—don't cover them with more soil, just press them gently into the surface. Lightly mist the soil with water until it's damp but not soggy. Place the pot in a sunny spot where it will receive at least 6 hours of sunlight daily.
Keep the soil consistently moist by watering it lightly every 2-3 days. You should see tiny sprouts within 7-10 days. Once the seedlings are about 2 inches tall and have a few true leaves, they're ready to be transplanted into the garden or a larger container.
🪴 Step 4: Assemble and Display Your Sign
After your painted sign is completely dry, use a hot glue gun to attach the wooden dowel frame around the edges. This gives your sign a finished, rustic look. Once your wildflowers are established, carefully remove a few plants from the pot and arrange them around the edges of the sign. Use twine to loosely tie them in place—this keeps them secure while allowing room to grow.
Hang your sign in a spot where it can be seen from your home or patio. The wildflowers will bloom in 4-6 weeks, adding a burst of color and life to your garden. Watch as the sign becomes a living piece of art, welcoming spring with every passing day.
⏰ Step 5: Maintain and Enjoy
To keep your sign looking its best, water the wildflowers regularly, especially during dry spells. Deadhead spent blooms to encourage more flowers, and occasionally trim any overgrown vines or leaves that might obscure the painted design. This sign is perfect for celebrating love and the arrival of spring—so enjoy the process and the beauty it brings to your garden!
Real talk: If your wildflowers don't bloom as expected, don't worry. Sometimes seeds take longer to germinate or need more sunlight. Try replanting a few more seeds in a different spot, and you'll likely see results soon. The key is patience and a little extra care.
Tips & tricks for perfect whimsical garden signs
Transforming a simple wooden sign into a living work of art takes a few key tricks—here's how to make yours truly special.
Prep Your Workspace: Before you start painting, cover your workspace with a drop cloth or newspaper to protect surfaces from accidental paint splatters. I also recommend laying down a piece of cardboard under the sign blank to catch any drips. This makes cleanup a breeze and keeps your project looking professional from the start.
Paint Application Technique: In Step 2, when painting your sign, use thin layers of paint rather than thick coats. This prevents drips and ensures a smooth finish. Let each layer dry completely—those 1-2 hours between coats are crucial for avoiding smudges. For extra precision, use a fine-tip brush for details like vines and flowers.
Seed Planting Pro Tip: When planting your wildflower seeds in Step 3, press them gently but firmly into the soil to ensure good contact. This helps with germination rates. I like to use a spray bottle for misting instead of pouring water to avoid disturbing the seeds. Place a small piece of clear plastic wrap over the pot to create a mini greenhouse effect—just remove it once sprouts appear in 7-10 days.
Assembly Secret: For Step 4, when attaching the wooden dowel frame, use a small amount of hot glue at each corner first to position it properly before applying more glue along the entire edge. This prevents misalignment. Once your wildflowers are established, trim them carefully with small scissors to fit around the sign edges without damaging the painted design.
Pro Tips for Love Is In Bloom Sign
- Transforming a simple wooden sign into a living work of art takes a few key tricks—here's how to make yours truly special.
- Prep Your Workspace: Before you start painting, cover your workspace with a drop cloth or newspaper to protect surfaces from accidental paint splatters.
- Paint Application Technique: In Step 2, when painting your sign, use thin layers of paint rather than thick coats.
Frequently asked questions
Got questions about your Love Is In Bloom sign? You’re not alone!
Here are some of the most common queries—plus quick, practical answers to help you create (or troubleshoot) your garden masterpiece with ease.
What’s the best material for a durable outdoor sign?
For longevity, opt for weather-resistant materials like powder-coated metal, cedar, or high-quality resin. If painting, use acrylic or outdoor latex paint—they hold up against rain and sun. Pro tip: Seal wood signs with a waterproof finish for extra protection!
How long does it take to make a Love Is In Bloom sign?
That depends on your skill level! A simple painted sign takes 1–2 hours, while intricate designs (like floral embroidery or woodburning) may need 3–5 hours. Short on time? Pre-cut kits or stencils can slash prep time by half. Plan ahead for drying/painting steps too!
Can I customize the sign with names or dates?
Personalize it with hand-painted letters, vinyl decals, or engraved details. For a rustic look, try stencils or woodburning. Just measure your space first—small signs work for porch displays, while larger ones shine as garden focal points.
How do I protect my sign from rain or pests?
Start with waterproof materials (like treated wood or metal). Add a clear sealant spray for extra defense. To deter pests, avoid damp wood—store signs indoors when not in use. Elevate signs off the ground with stakes or a small stand to prevent rot.
What if my sign looks uneven or crooked?
No worries! Use a level tool when mounting, and pre-drill holes for screws to avoid splitting. For painted signs, lightly sand between coats for a smooth finish. If it’s already up, adjust with shims or wedges for quick fixes.
Wrapping up and next steps
A love is in bloom sign isn’t just a charming garden decoration—it’s a heartfelt invitation to embrace spring’s joy and share it with others. Whether you’re crafting one for your own space or gifting it to a loved one, this project is all about spreading warmth and creativity. 🌸
Now that you’re inspired, why not take the next step? Gather your supplies, pick your favorite colors, and let your imagination bloom! Share your finished sign on social media—tag us and let the world see your love in bloom. Happy crafting! ✨